Final Preview
 |
| Platinum Text |
In this tutorial we will learn how to create a shining Platinum text using photoshop blending options
* UPDATE : Video Tutorial Also Available Now
Click here
* UPDATE : Video Tutorial Also Available Now
Click here
Step 1
Create a new document (1024px X 768px) and resolution 200px/inch.
Step 2
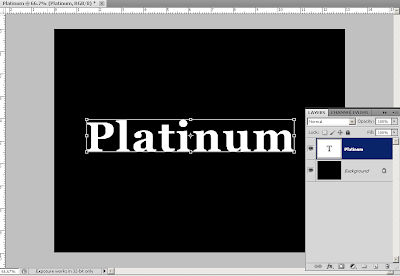
Make a black background and make a new text layer.
Write any desired text with a bold font.
Step 3
Now open blending options of the text layer and click on gradient overlay.
Select the first color #ffffff and last color #cecece
Press OK and change gradient style to reflected
You will get something like this
Step 4
Now go to bevel and emboss and change the settings to
Structure
Style: inner bevel
Technique: chisel hard
Depth: 75%
Size: 10
Shading
Gloss counter: ring-double
Tick the anti-aliased check box
Now select the contour with following settings
Contour: cone
Range: 80%
After applying these settings you will get something like this
Step 5
Now hide the text layer and select the background layer
Choose round gradient with color #5c5c5c and #000000
Step 6
Create a new layer above text layer in which we will add shine to the platinum text.
Select the brush tool with star brush
Size: 90px
In the new layer created, brush on the edges of the text to make it look shiny
Step 7
Select the text layer again and make a drop shadow effect with the following settings
Opacity: 90%
Distance: 8px
Spread: 10px
Size: 13px
After adding shadow, our platinum effect is ready
 | ||||||||
| Final Platinum Effect |
Thanks for reading
Hope you like it...!!


what type of font did u use
ReplyDeleteand i love it
ReplyDelete