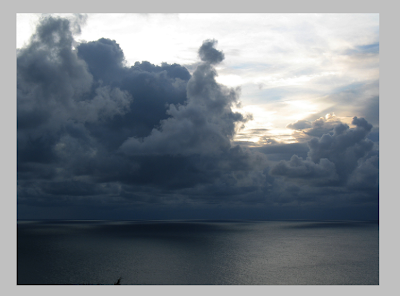
Final Preview
Step 3
Now open the image of clouds in a new file and copy it
Now paste it below the background copy layer
You will get something like this
Step 4
Select black and white color and don’t forget to click on the clipping mask button
Step 5
Midtones
Shadows
After applying these settings we will get the following effect
Step 7
Create a new adjustment layer of exposure and reduce it to -0.75
Our image will look less exposed and give a cloudy effect
Step 8
Select the background copy layer and all other adjustment layer
And merge them (ctrl+E)
Step 9
Create copy of the layer home which we got after merging and select it
Step 10
Now go to filter>other>high pass
A window will open and set the radius to 10px
We will get something like this after highpass
Step 11
After high pass set the blending mode to soft light
This will give us a sharp image with high detail
Step 12
Now add vignette to the image
Before and After
Final Image
Thanks for reading
Hope you like it...!!


No comments:
Post a Comment